Have you really finished “Zelda: Breath of the Wild?”
10 out-of-the-way things to challenge, discover, and complete after you’ve defeated Ganon.
Breath of the Wild is lorded as one of if not the best Zelda title ever made and more than 50% of Switch owners have bought the game. One of the most-loved aspects of the Action RPG is the freedom it gives to its players: you can do what you want, when you want, how you want.
Even completion differs from person to person — some say defeating Ganon is the end, while others say you have to complete all the divine beasts too or even collect all of the memories. The truth, however, is that the end is almost unachievable.
The amount of content this game hides underneath the foliage of its gigantic natural landscape is seemingly endless, and only Twitch streamer-level gamers will truly finish everything.
However, whether you’re up for the gargantuan task of 100% completion or not, there’s a good chance that there’s still content you’ll love waiting to be discovered. Take a look down this list and see which achievements you’ve earned, and which you’ve never even heard of.
1. Complete the Tarrey Town quest line
Widely considered one of the most popular side quests of the game, Tarrey Town is one story you really don’t want to miss out on. The quest begins back in Hateno village, where you’ll find an old house hiding behind the cluster of cube-like new constructions near the village entrance. If you talk to the construction team hanging out under a tree outside the old house, you’ll find out that it’s about to be demolished. After buying it for a stack of lumber and 3000 rupees, you’ll trigger the beginning of two quests: “Hylian Homeowner,” and “From the Ground Up.”
The former allows you to fix up the house you just bought and eventually showcase your favorite gear pieces in there. Owning the house also lets you unlock a secret cutscene after completing the Champion’s Ballad DLC. The latter quest, “From the Ground Up,” follows Hudson the construction worker as he begins the company’s next big project. You’ll end up providing him with both the materials and the people he needs to found a new town way over in the Akkala region.
Simply follow the quest prompts to find Hudson again in Akkala (near the Dah Hesho Shrine) to begin helping him build his new town from the ground up. By the way, the Japanese version of the town name is a little more on the nose. It’s called Ichikara Village, which roughly translates to Village-From-Zero.
Finishing the quest line will unlock a few new features too, including a new goddess statue, a free inn, a new set of shops, and a very useful NPC that can help you out if you ever lose your Hylian Shield.
2. Collect Kilton’s Medals of Honor
If you’ve played enough of the game to defeat Ganon, you’ve probably at least heard of Kilton, if not unlocked his shop and bought out his wacky inventory. If not, then Kilton is a monster otaku whose shop appears around Hyrule under the cover of night. You can trade in the monster parts you collect from battles for his in-store currency and buy strange items that let you blend in with Bokoblins or frighten innocent NPCs.
However, there is one more thing you can get from Kilton that only becomes available after you’ve defeated Ganon — Medals of Honor. These are awarded to Link for defeating the different overworld bosses: all 40 Hinoxeses and Stalnoxeses, 40 Taluses, and four Moldulgas.
To aid you in this quest, you can ask Kilton for the total number you’ve defeated already, and whenever you come across one in the wild, it will have a “defeated” tag if you’ve slain it before.
3. Tame a wild bear and a magic stag
There’s no real in-game reason to complete this little challenge, but it definitely makes for a good screenshot. You might have seen a bear wandering around forested areas already, but did you ever think about trying to mount it? Yes, bears can be tamed and ridden in “Zelda: Breath of the Wild,” and it’s a lot of fun. Note that you can’t register the beast at a stable, though.
If you want to best a bear, the first thing you’ll need is maxed-out stamina or a bunch of stamina foods and potions. Without these, the bear will struggle for long enough to throw you off and ruin your attempt to tame him. Secondly, you’ll benefit from wearing your Sheikah gear for maximum sneakiness, because you’ll need to get up behind the bear without it noticing you. If you don’t know where to find your prey, try the forested area behind the Dueling Peaks Stable.
As for the magic stag, more formally known as the Lord of the Mountain, you’ll find him on Satori Mountain near the Mogg Latan Shrine. To tame him, you’ll need the same gear and stamina levels as you did for the bear, along with some additional patience. For one thing, the Lord of the Mountain only spawns sporadically, and for another, it’s incredibly easy to scare him off. Whenever you see a green glow on top of Satori Mountain, its Lord is present, so that’s the time to make your move.
4. Wrangle and register the Royal Horse and the Giant Horse
If you’re more interested in mounts that you can register at a stable, then the Royal Horse or the Giant Horse might be for you. To find the royal horse, start the side quest “The Royal White Stallion” by talking to Toffa at the Outskirt Stable. He’ll tell you about a white horse spotted on Safula Hill, which you then need to go find.
Like the bear and the magic stag, you need stamina upgrades or edibles to tame the special horse. Once you’ve got it, take it back to the stable to register it, and speak to Toffa again to receive a saddle worthy of this fine creature.
Meanwhile, the Giant Horse is hiding in the Taobab Grassland. He also has a side quest, “Hunt for the Giant Horse,” that you can pick up by talking to Straia at the Mounted Archery Camp not far from the Owa Daim Shrine. Yet again, you’ll need masses of stamina to tame this beast, and this time you can really see why. The horse is literally two times the size of any other stallion and towers above Link’s head. As mentioned, you can actually register and name this horse after taming him, so go ahead and do that because this guy has infinite stamina.
5. Complete the Hyrule Compendium
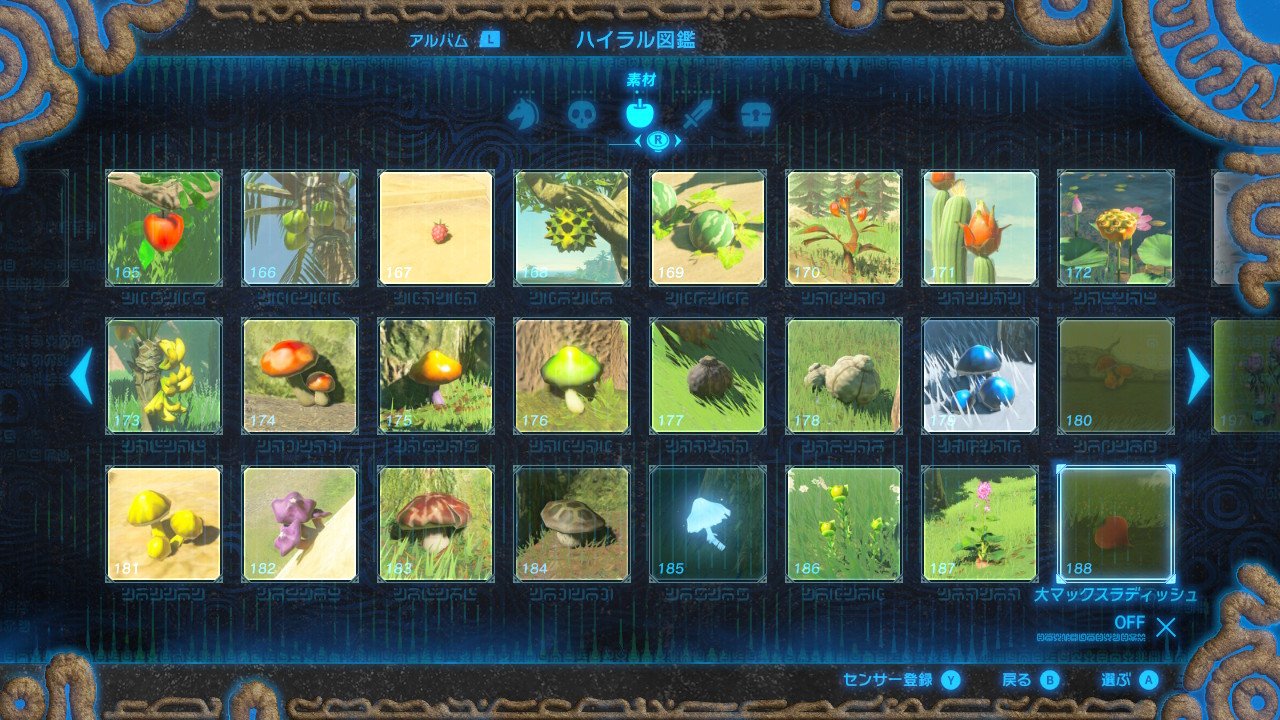
Remember that task Symin gave Link to photograph every item, weapon, animal, and plant in the game? Well, that’s still a thing and you probably haven’t done it. If you can’t find the motivation, remember that each contribution you make to the compendium does reward you with information about the item and where to find it, as well as the ability to search for it with the Sheikah Sensor. This will come in handy for certain things in the game, including the seventh task on this list.
You will also receive a reward from Symin for completing the compendium, though you’ll have to do the work yourself to find out what it is. If you have a few items that you’re really struggling to find, it’s possible to buy missing entries from Symin for 100 rupees each.
6. Find all 900 Korok seeds
If you thought the compendium was a completionist’s task, you clearly haven’t heard just how many Korok seeds there are to collect. We all know about the Koroks and their puzzles because they’re introduced right at the start of the game and we use them to expand our weapon inventory. However, what isn’t explicitly stated is that there are an insane 900 korok puzzles hidden throughout Hyrule altogether.
With the Korok mask from the DLC, you can make your search a lot easier since it reacts whenever you’re within a certain distance from one. You should also be prepared to encounter some new puzzles too — they’re not all about statues, archery challenges, picking up rocks, chasing sparkly leaves, or following those pesky teleporting flowers. As an example, at least one Korok seed can be found by successfully clearing three fences on a horse in a certain place indicated by the Korok mask.
7. Upgrade all the armor sets
If you enjoy the Hyrule compendium and you like to horde items, plants, and monster parts, there is a way to put your collection to use. Using the Great Fairy Fountains, you can upgrade your various armor sets by handing over the designated items. There are a lot of pieces to upgrade, and four upgrades per piece. The later stages require rarer items like star fragments and dragon scales, and you’ll almost certainly need to go on a few expeditions to collect everything you need.
As well as increasing the base defense scores of your armor, upgrades will also strengthen special effects and set bonuses. For example, if you wear the Stealth set with each piece upgraded at least twice, you’ll benefit from the Night Speed Up bonus that allows Link to move more quickly at nighttime. If you like to run your collection operations efficiently, you can find fan-made spreadsheets online covering the total number of each item you need to upgrade every armor piece.
8. Learn how to fight a Lynel
One other challenge you need to overcome to upgrade every armor set is defeating the mighty Lynel. This is undoubtedly the most difficult overworld monster to kill, as hack ‘n’ slash methods don’t really cut it with these guys. To defeat a Lynel, Link has to take full advantage of the game’s combat system, using dodges, parries, and flurry attacks both to stay alive and make significant dents in the monster’s health. Defense or attack buffs are also a good idea, along with a full inventory of high-quality weapons.
To collect the 12 Lynel horns, 24 Lynel hooves, and 18 Lynel guts you need to fully upgrade the Barbarian and Soldier’s sets, you need to kill a significant number of Lynels. Stronger variations such as the silver Lynel or the Master Mode exclusive golden Lynel are likely to drop more parts, along with stronger weapons and gemstones. Once you’ve killed one Lynel, you can use the weapons it drops to kill the next one, and so on, which should significantly decrease the amount of weapon farming you need to do.
For buffs, two easy options include cooking five Mighty Bananas for a full-strength Attack Up meal, or five Ironshrooms for a full-strength Defense Up meal. You can also swap out one ingredient for a Dragon Horn to increase the duration to 30 minutes. Lynels have a whole host of unique attacks with specific openings for counterattacks and dodges, so watching a tutorial video to get you up to speed can be very helpful — and remember, if you take the easy route and use an Ancient Arrow, you won’t get any loot!
9. Get the Thunder Helm
After completing the Divine Beast Naboris quest line, the Thunder Helm you retrieved from the Yiga Clan will take its rightful place beside Riju’s throne. If you interact with it, you’ll trigger a quest to earn the right to borrow it, by building trust with the Gerudo people. To do this, seek out and complete the four side quests in and around Gerudo Town.
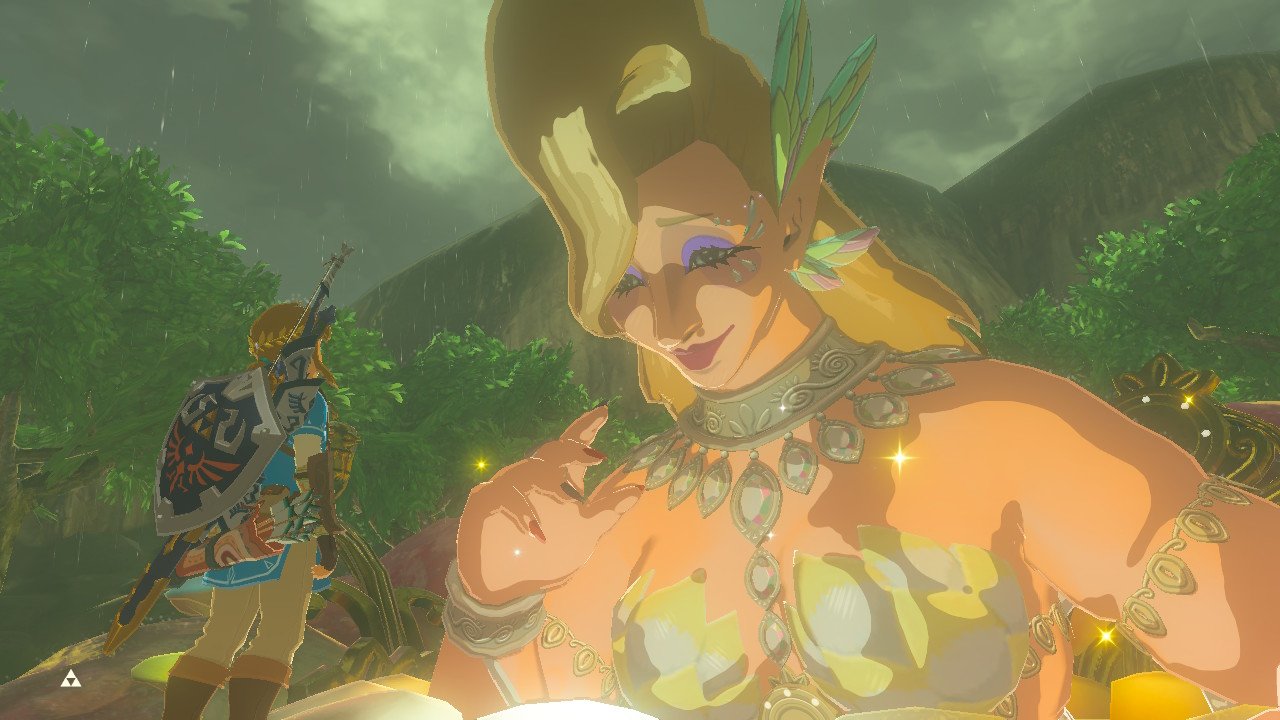
The quests range from saving lives to improving water quality and will have you aiding both the young and the old. Once they’re all done, Riju will lend you the helm which is a great item for defense against lightning. When equipped, it will negate all damage from lightning strikes. You can even wear the helm as part of your Gerudo Set in the town without breaking your disguise. This also applies to both the Snow Boots and the Sand Boots, two other useful armor pieces you can earn through quests around the Gerudo area.
10. Earn the Hero of the Wild set
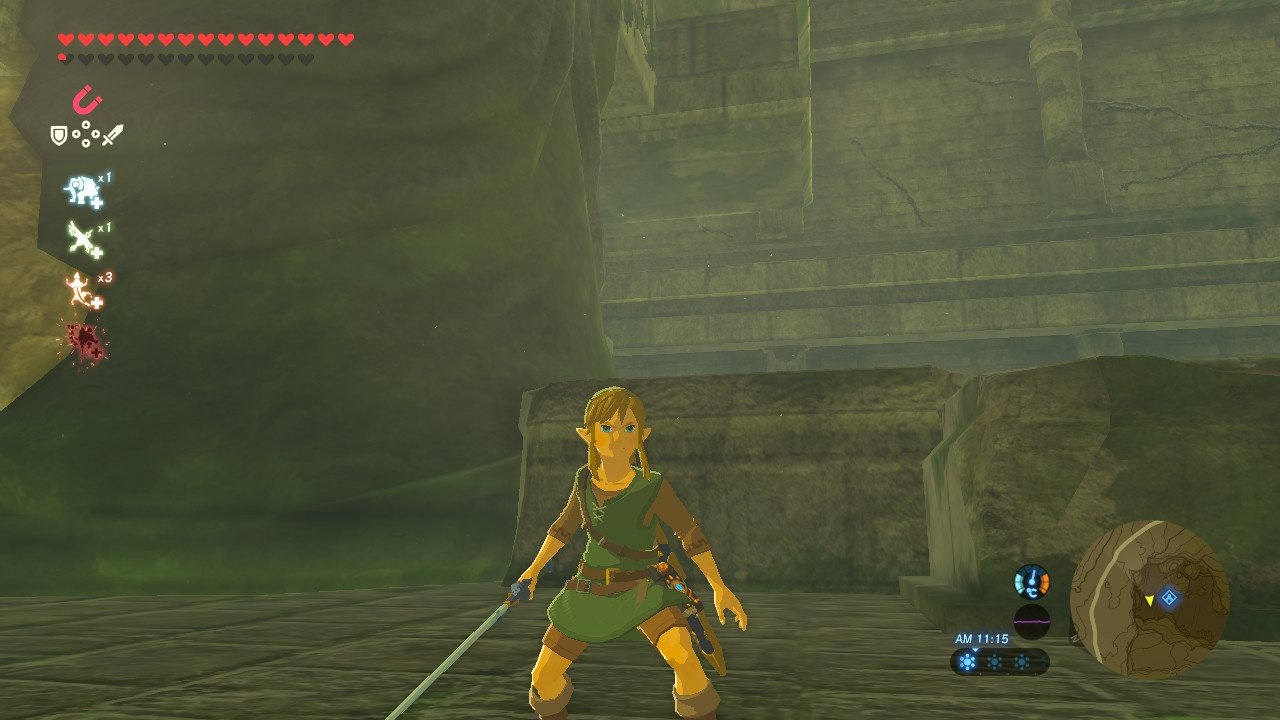
The Hero of the Wild set is a classic green tunic and the reward for completing each and every shrine in the base game. Most players won’t stumble upon all 120 shrines before defeating Ganon, so it definitely deserves a place on this list. Unless you make use of a guide, finding all of the shrines will take a lot of exploration and requires you to scrutinize every corner of the map.
You can use the Shrine Sensor to help you sniff out general locations, but spotting or finding your way to the actual shrine can often be a challenge. Some unique challenges will also have you fighting in your underwear, fighting in complete darkness, or just stumbling endlessly around a giant maze.
Another tip for finding shrines is to make use of the Hero’s Path feature, which displays the paths you’ve taken and the areas of the map you’ve already explored. By zooming in, you can see which peaks you’ve yet to scale and which open plains you’ve yet to cross. Areas with no shrine icons and little evidence of prior exploration are great places to start looking.


